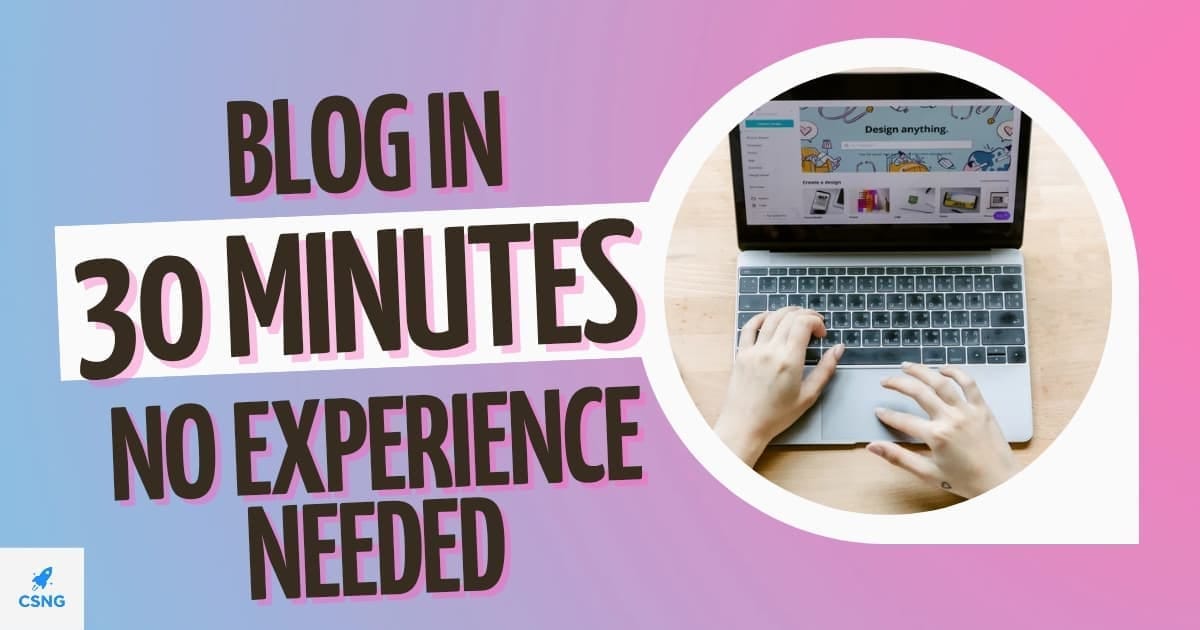
How to Start Your First Blog in 30 Minutes with Bluehost: A Beginner's Step-by-Step Guide
Are you ready to finally start your blog but feel overwhelmed by the tech side?
You’re not alone.
Starting a blog in 2025 doesn’t need coding, fancy tools, or even a laptop. With the right steps and tools, you can set up your first blog in just 30 minutes—even if you’re using your phone.
In this complete beginner guide, I’ll show you how to start your first blog using Bluehost. This is the exact process I used to get approved for ShareASale, set up
my website on WordPress, and finally build a blog that earns real affiliate income.
> Why Bluehost? Bluehost is beginner-friendly, affordable, and officially recommended by WordPress. Plus, it offers a free domain and one-click blog setup.
Let’s dive into the exact steps you need.
🛠️ Step 1: Choose a Domain Name (Your Blog Address)
Your domain name is your website address—like www.clickstartng.com.ng. It’s the first impression people will get of your blog. You want it to be memorable, relevant to your niche, and easy to type. A good domain name can help establish
your blog brand, make you stand out, and even improve your SEO ranking over time. Take time to brainstorm a name that reflects your niche or personal brand. For example, if you’re creating a travel blog, names like “WanderWithFaith.com”
or “BudgetJetSet.com” might be good options. Avoid hard-to-spell words, numbers, or anything confusing.
Here’s the good news: Bluehost gives you a free domain for your first year, so you don’t need to pay extra. When you sign up for hosting, you’ll be prompted to register your domain name right
away.
Tips for Choosing a Good Domain:
✓ Keep it short and simple.
✓ Use keywords if possible.
✓ Avoid numbers, dashes, and special characters.
✓ Choose a .com or .com.ng extension if available.
💡 Don’t overthink it. Focus on choosing a name that you’re comfortable with and ready to grow.
🌐 Step 2: Sign Up for Bluehost Hosting
Hosting is the foundation of your blog. It’s what allows your website to be seen by the public 24/7. Without it, your blog can’t go live. Bluehost is widely trusted and highly
recommended for beginners due to its user-friendly interface, reliable
uptime, and automatic WordPress installation. It also includes free SSL (for
website security), free email, and 24/7 support—all important features for new bloggers.
Here’s how to sign up:
1. Visit Bluehost’s official site.
2. Click “Get Started.”
3. Choose the Basic Plan (great for one blog).
4. Register your free domain name or connect one you already own.
5. Enter your account details and payment info.
6. Choose the 12-month option for affordability and bonuses.
You’ll be guided through every step, and the process takes less than 10 minutes. Bluehost’s plans are affordable—starting at just ₦2,500/month (when billed annually). For the value it offers, it’s a smart investment in your blogging journey.
Pro tip: Stick with the basic plan until your blog starts growing, then upgrade if needed. Avoid unnecessary upsells at checkout unless you really need them.
⚡ Step 3: Install WordPress in One Click
After completing your Bluehost registration, you’ll be prompted to install WordPress automatically. WordPress is the world’s most popular blogging platform, powering over 40% of all websites. It’s flexible, open-source, and beginner-friendly. With WordPress, you can build virtually any kind of website.
from a simple blog to a full e-commerce store—all without touching a line of code.
Installing WordPress with Bluehost is incredibly easy. Once inside your Bluehost dashboard:
✓ Click “Install WordPress.”
✓ Choose your domain.
✓ Set your site title, admin username, and password.
✓ Click “Install” and wait a few seconds.
That’s it. You now officially own a blog. You’ll get a login URL like
yourblog.com/wp-admin, where you can start customising everything—from
your homepage to your blog posts. Don’t worry if it feels confusing at first. WordPress becomes easier the more you use it.
🎨 Step 4: Pick a Free WordPress Theme
A WordPress theme controls how your site looks and feels. Think of it like the design of your house. You want something that’s fast, mobile-friendly, and easy to customise. Thankfully, WordPress offers thousands of free themes that work well
for blogs, affiliate marketing, and even small businesses.
To choose your theme, go to your WordPress dashboard:
Click Appearance > Themes.
Click “Add New” to browse free options.
You can preview each theme before activating it. Look for themes that are
responsive (mobile-friendly), lightweight (loads fast), and easy to customise. Avoid complicated designs or themes that need advanced coding knowledge.
Recommended Free Themes:
Astra—Clean, fast, and beginner-friendly
Hello Elementor, Ideal if you want to use a page builder like Kadence.
Great mix of style and performance
After choosing your theme, click “Install” and then “Activate.” Don’t worry about perfecting the design on day one. You can always adjust it later.
✍️ Step 5: Write Your First Blog Post
Now comes the fun part: sharing your voice with the world. Your first blog post doesn’t have to be perfect. What matters most is getting started. Choose a topic that’s meaningful to you and helpful to your audience. A good first post could be a personal introduction, a how-to guide, or a story about why you started blogging.
To write:
Go to Posts > Add New.
Write a headline (e.g., “Welcome to My Blog” or “Why I Started Blogging”).
Add paragraphs, subheadings, and bullet points for clarity.
Insert images using the “Add Media” button (use royalty-free images from
Pixabay or Unsplash)
Aim for 800–1,200 words in your first post. Use Grammarly to fix grammar issues and try to write in a friendly, helpful tone. Add a call-to-action at the end, such as asking readers to leave a comment or join your email list.
Once you’re satisfied, click Publish. Congratulations—you’r
e now a blogger!
Omnis iste natus error sit voluptatem accusantium doloremque laudantium, totam rem aperiam:
Eaque ipsa quae ab illo inventore veritatis et quasi architecto beatae vitae dicta sunt explicabo
Nemo enim ipsam voluptatem quia voluptas sit aspernatur aut odit aut fugit
Sed quia consequuntur magni dolores eos qui ratione voluptatem sequi nesciunt

Blog in 30 minutes
💸 Step 6: Add Your Affiliate Links (Start Monetising)
If you plan to make money from your blog, affiliate marketing is one of the easiest ways to start. By recommending products you use and trust, you can earn
a commission when someone buys through your link. This is how many beginner bloggers earn their first income.
Start by applying to affiliate programs:
ShareASale
PartnerStack
Impact
Once approved, you’ll get your affiliate links. Add these to:
A "Tools I Use" page
Blog posts (where relevant)
Sidebars or banners
Use the Bitly or Pretty Links plugin to shorten and track your affiliate links. Always
disclose when you use affiliate links by including a short disclaimer near your
links at the top of your post.
Pro Tip: Promote only products you’ve tested or believe in. Your honesty buil
ds trust with your readers.
🔐 Step 7: Add Legal Pages for Trust & Approval
Before applying to affiliate networks like ShareASale, you’ll need to have some
legal pages in place. These not only help you get approved but also show your
visitors that your site is trustworthy and transparent.
Here are the must-have pages:
Affiliate Disclosure: Explains that you earn commissions from some links
Privacy Policy: Outlines how visitor data is used or stored
Contact Page: Lets readers and partners reach you
You can generate these pages for free using sites like TermsFeed or
PrivacyPolicies.com. Add links to these pages in your blog footer or navigation menu. If you want to see examples, check the footer of ClickStartng.
Once these pages are in place, your blog will be in a strong position for affiliate
approvals and Google indexing.
📲 Step 8: Check Mobile Optimisation (Critical for Google SEO)
Mobile optimisation isn’t optional—it’s essential. Google gives preference to mobile-friendly websites in search results. That means if your blog doesn’t look on smartphones, it could hurt your traffic and rankings.
Here’s how to check:
Open your blog on your phone. Check font size, image load time, and navigation.
Use Google’s Mobile Test Tool to analyse your site.
Ensure buttons and menus are easy to click.
Most modern WordPress themes are responsive by default. But if needed, use plugins like WPtouch Mobile to enhance the experience. Fast-loading sites,
readable fonts, and simple layouts are key for both SEO and user satisfaction.
Maespecially before launching a new blog.
posts or landing pages.
📝 Final Checklist Before You
Before promoting your new blog, make sure everything is in place:
✅ Domain name connected
✅ Bluehost + WordPress setup complete
✅ First post published
✅ Theme installed and mobile-friendly
✅ Affiliate Disclosure and Contact Page live
✅ Images optimised and links tested
Once your checklist is complete, share your blog link with friends, family, and
social media. This is just the beginning of your blogging journey—but now you’re ahead of 90% of people who never take action.
💡 Pro Tips to Grow Your Blog Fast
Your blog is live. Now it’s time to build traffic and grow. Here are some quick tips to help you scale:
Write and publish 1–2 blog posts per week.
Use Systeme.io to create free landing pages and email funnels.
Offer a lead magnet like a free checklist or short eBook.
Share your blog posts on WhatsApp, Facebook Groups, and Instagram Stories.
Track your most-clicked links using Bitly or Google Analytics.
The more consistent you are, the faster you’ll see growth. Remember, most
Successful blogs weren’t built in a week—but they were built by people who didn’t quit after t
he first month.
Affiliate Disclaimer
Some links in this article are affiliate links. If you buy through them, I may earn a small commission at no extra cost to you. I only recommend tools use and trust.
💡 Ready to Launch?
Don’t waste years figuring it out — let me set it up today.
[ Grab Free Beginner Guide ] [ Hire Me on Fiverr ]
Copyright © 2025 Clickstartng• All right Reserved.
ABOUT
Clickstartng helps absolute beginners start their website, pick the right tools, and launch a blog or online business — all with zero coding experience.
