
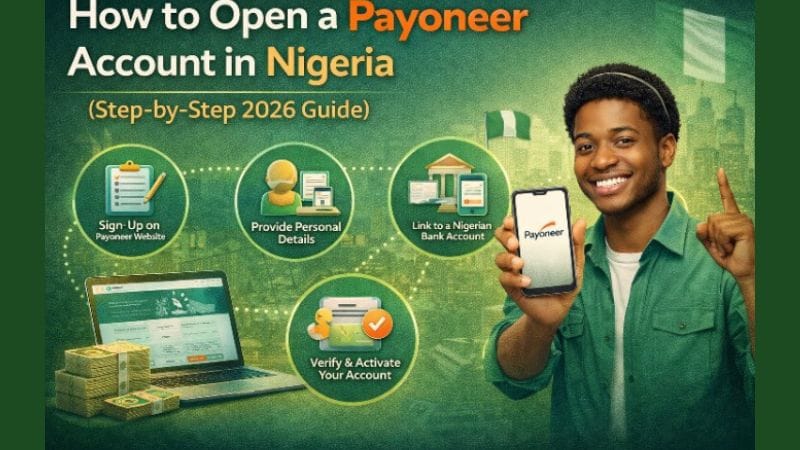
How to Open a Payoneer Account in Nigeria (Step‑by‑Step)
If you're searching "open Payoneer account Nigeria" because you need to receive freelance income, affiliate commissions, or Stripe payouts, this guide will walk you through the entire process — from sign‑up to your first withdrawal — with no skipped steps.
I remember staring at the Payoneer sign‑up page, worried I'd make a mistake and get my account blocked. I've opened and verified multiple Payoneer accounts for myself and helped friends do the same. Follow this guide exactly, and you'll have your virtual US bank account ready to receive payments within 24 hours.
What Is Payoneer and Why Do You Need It?
Payoneer is a financial services platform that gives you a virtual US bank account — even if you've never travelled outside Nigeria. You can receive payments from international companies, freelance marketplaces (Fiverr, Upwork), affiliate networks (ClickBank), and even Stripe, then withdraw the money to your Nigerian bank account in naira.
- It's free to open: No upfront fees.
- You get real US bank details: Account number, routing number, checking account.
- Works with Nigerian banks: Withdraw directly to GTBank, UBA, Access, Zenith, etc.
Step 1: Sign Up on Payoneer
- Go to payoneer.com and click Register.
- Select Individual (not Company).
- Fill in your legal first name, last name, email, and date of birth — exactly as they appear on your government‑issued ID.
- Create a strong password and click Next.
Step 2: Enter Your Nigerian Address and Phone Number
Payoneer will ask for your contact information. Use your real Nigerian address (home or office) and an active phone number. This is where they'll send verification codes and important notifications.
- Country: Nigeria.
- Address: Your full street address, city, and state.
- Phone: Your Nigerian mobile number (e.g., +234 80xxxxxxxx).
Step 3: Verify Your Identity
This is the most critical step. Payoneer will ask you to upload a clear photo or scan of one government‑issued ID. Acceptable documents for Nigerians:
- International Passport (data page).
- Driver's Licence.
- National ID Card (NIN slip is sometimes accepted, but a physical card is better).
- Voter's Card.
⚠️ Make sure the name on your ID matches the name you entered during sign‑up exactly. If your ID says "Chukwuemeka Okonkwo" but you registered as "Emeka Okonkwo," your verification will be delayed or rejected.
Step 4: Add Your Nigerian Bank Account
Once your identity is verified (usually within a few hours, sometimes up to 2 business days), log into your Payoneer dashboard and link your Nigerian bank account for withdrawals.
- Go to Settings → Bank Accounts.
- Click Add Bank Account.
- Enter your bank name, account number, and account type (savings or current).
- The name on your bank account must match your Payoneer account name exactly.
Step 5: Get Your Virtual US Bank Account Details
Now the part you actually need — the US account that lets you receive dollars. In your Payoneer dashboard:
- Go to Receive → Global Payment Service.
- Select USD (United States).
- Payoneer will show you a Bank of America or Community Federal Savings Bank virtual account.
- Copy your Account number, Routing (ABA) number, and Account type (Checking).
These are the details you'll enter into Fiverr, Upwork, ClickBank, or Stripe to receive payments.
🧾 After Setup Checklist
- ID uploaded and approved? Yes — wait for the confirmation email.
- Nigerian bank account linked? Yes — tested with a small withdrawal.
- Global Payment Service activated? Yes — you can see your US account details.
- Received a small test payment? Use Fiverr or ask a friend to send $1 to activate the account before large transfers.
"I opened my Payoneer account on a Monday afternoon. By Tuesday morning, my ID was verified and I had my US bank details. I connected it to Fiverr and received my first $80 payment three days later. The setup was much easier than I feared."
— Chiamaka E., AwkaHow Long Does the Verification Take?
Most Nigerian accounts are verified within a few hours to 24 hours. If it takes longer, check your email for any request for additional documents. Sometimes Payoneer asks for a utility bill or bank statement to confirm your address. Upload a clear PDF of your recent electricity bill or bank statement, and you'll be approved quickly.
Common Mistakes That Delay Approval
- Blurry ID: Take the photo in good light, with all four corners visible.
- Name mismatch: This is the #1 reason for rejection. Double‑check every letter.
- Using a VPN: Sign up from your normal Nigerian IP address — using a US VPN can flag your account.
Frequently Asked Questions
Yes. Creating and maintaining a Payoneer account is free. You only pay a small fee (around 2%) when you withdraw dollars to your Nigerian bank account. There's no monthly or annual fee.
Yes. You receive dollars into your Payoneer virtual US account, then withdraw to your Nigerian bank account in naira. The conversion happens automatically at Payoneer's exchange rate, which is competitive.
Usually 1–3 business days. Some banks (GTBank, Zenith) process it within hours. Weekends and public holidays can add extra time.
Yes. This is one of the most popular uses for Payoneer in Nigeria. I have a full step‑by‑step guide for connecting Stripe to Payoneer — see the link at the bottom.
Open Your Payoneer Account and Start Receiving Dollars
It takes 15 minutes. Once approved, you'll have a working US bank account ready to receive freelance income, affiliate commissions, and more.